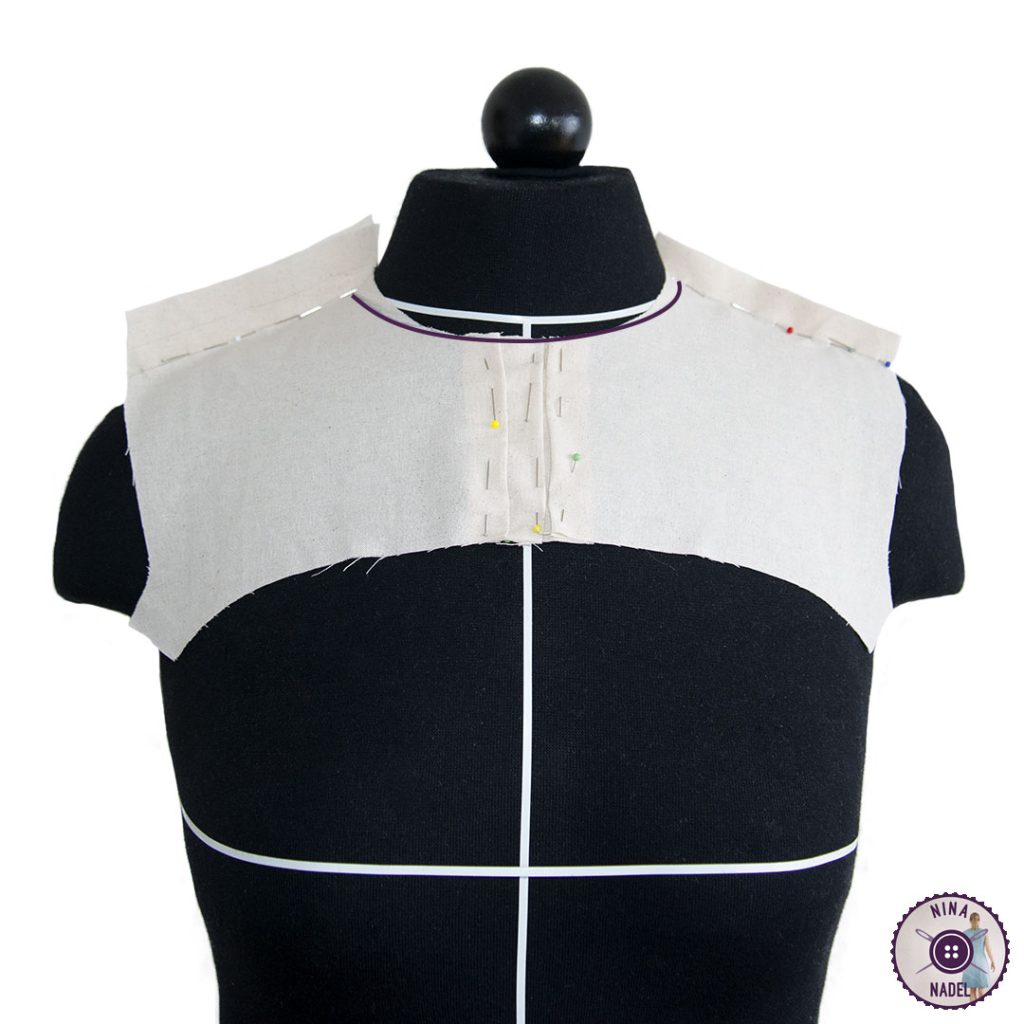
For the first time, I really don’t want to go with my usual compromise, but will create separate pattern pieces for my unequal shoulders.
Reason: I want a dress for myself with a collar that fits close to the neck and I want it to be comfortable!
Normally I am very pragmatic and use the same pattern piece for both sides and simply shorten the shoulder by 1cm on the front and 1cm on the back for the right side. But because of the collar (with collar stand), this is unfortunately not possible, as 2cm are missing on one side for the collar. In the past, if I wanted a stand-up collar, for example, I simply constructed a much wider collar and it worked somehow, but with the dress I currently have in mind, the collar should fit close to the neck and I have also become even more fussy about the fit over the years.
So this time I’m trying a different approach. I know that my shoulders and the area around my neck are difficult to fit into cloths, after all, I always have to modify these areas for myself with patterns from all manufacturers and even if I construct them myself, the general formulae from my textbooks don’t really work.
So this time I’ll just give it a practical attempt: the pattern is constructed, but I could already see from the paper pattern that the neckline wouldn’t fit. hmpf
So I cut out the corresponding pattern pieces in my sample fabric, pinned them together on my dress form and then simply drew on with a biro where something needed to be removed so that the neckline would fit me. Advantage: I made my dress form myself and it was modelled on my body, so it should at least be roughly right. I still have to try it out though, I’ll report back! 🙂
from Instagram: https://www.instagram.com/p/C32IVCctOT4/

