For a very very long time I have looked again and again at the pattern of the Night and Day Dress by Charm Patterns on the net, but the price has deterred me at first.
But then I looked closer, the price is actually really okay, or even cheap, because there are sooooooo many different combinations and not only one pattern for one dress. And exactly for this reason I bought it in the end! 🙂
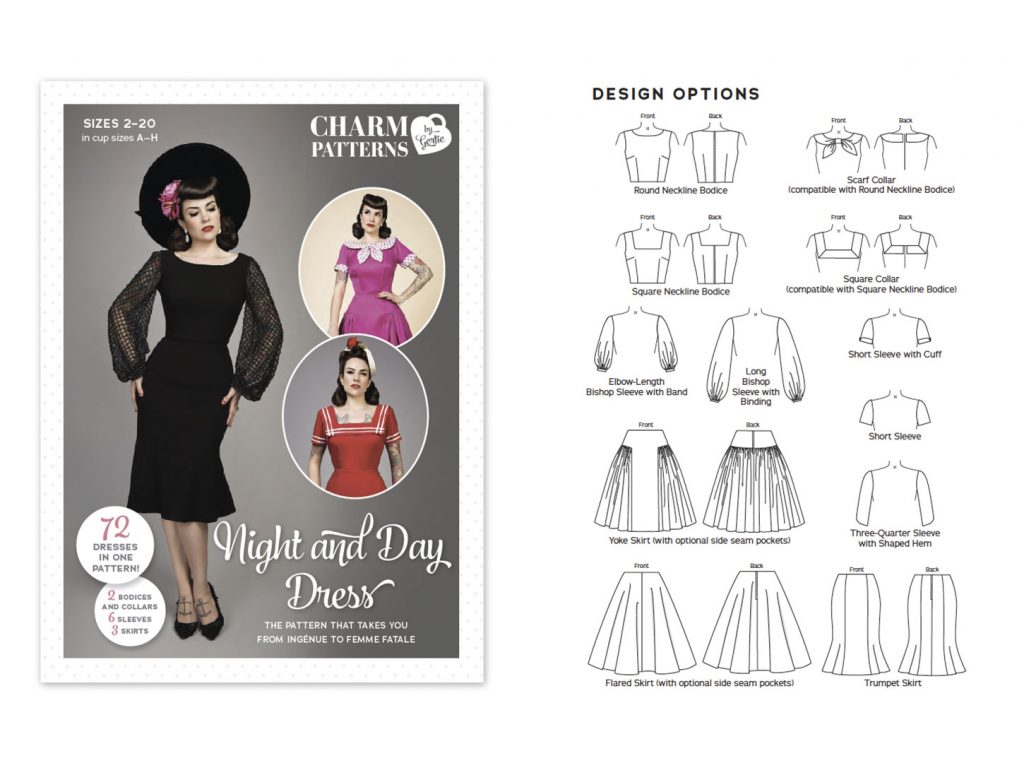
Design Options
Here an overview:
Sizes
Another plus is the size selection, which is simply fantastic.
The pattern includes the sizes 2 – 20 (US), which corresponds to the EU sizes 30 – 50 + all these sizes are available with different cup sizes and these are also really extensive, there are the cup sizes A – H.
Sewing instructions
The instructions are available in English, very well written and also wonderfully illustrated, so that you can – if you do not speak English – also follow the instructions simply by looking at the pictures. (for this, however, you should have at least basic sewing skills) There are notes on possible fitting tweaks, extra pages where you can note your design + your made changes, and you can find fabric usage information for each pattern piece and also informations about how it should be cut.
Sewing pattern
This is available in the paper format A4 for printing and taping together at home and also in A0 for printing at the Copyshop. In addition, both are so-called layered pdf documents, this way you can decide (before printing), which sizes you actually need and you can hide the sizes you don’t need and save ink when printing.
But now to what I have made of it. 🙂
Muslin and fitting adjustments
At first I have sewn a muslin, something that is also recommended in the instructions, because every body is different. But as I always make one, this was nothing new to me. Reason: I do not like surprises and always try to achieve the perfect fit for my dresses. And because I made one, I recognized that I have to change a few things to make it really fit my body.
HERE you can read my blog entry to my simple fit optimization for the round neckline bodice.
My fitting adjustments for the bodice (a list):
1. Lowered the bust point
2. Reduced the width at the top side seam (front)
3. Reduced the width at the side seam (back)
4. a) Shorten the back length (center) + b) and added the reduced width from the center to the side seam at the back
5. Expanded the back armhole a little
6. Adjusted the “strap” length (for me only on the right side)
Info: I have found in one or the other review I have read on this pattern complaints about (from people who also wrote that they have skipped the muslin) that the bust point is too high with this pattern – as it is also with me – but since Gretchen (Gertie) Hirsch, the designer behind Charm Patterns, shows great importance to an authentically reflect of the fashion style of that time, then the breast point must be quite high, since at that time also the underwear was different from our today.
My changes of the skirt:
1. From the bottom seam of the yoke, I reduced the size of the skirt from 4 (32) to 2 (30), because the size 2 (30) simply fits better to my actual hip circumference. (keyword: “grading”)
2. I removed the unruffled part of the skirt at the center front, so that this part is also gathered. I really do love this detail visually, but I was just too unsure if I would wear the dress like this in my everyday life (if it were for a special occasion that would be something completely different), that’s why I made this change.
HERE you will find the blog entry for my pattern hack of the yoke skirt, where I describe in detail – incl. sample calculation – how you can modify the skirt like I did!
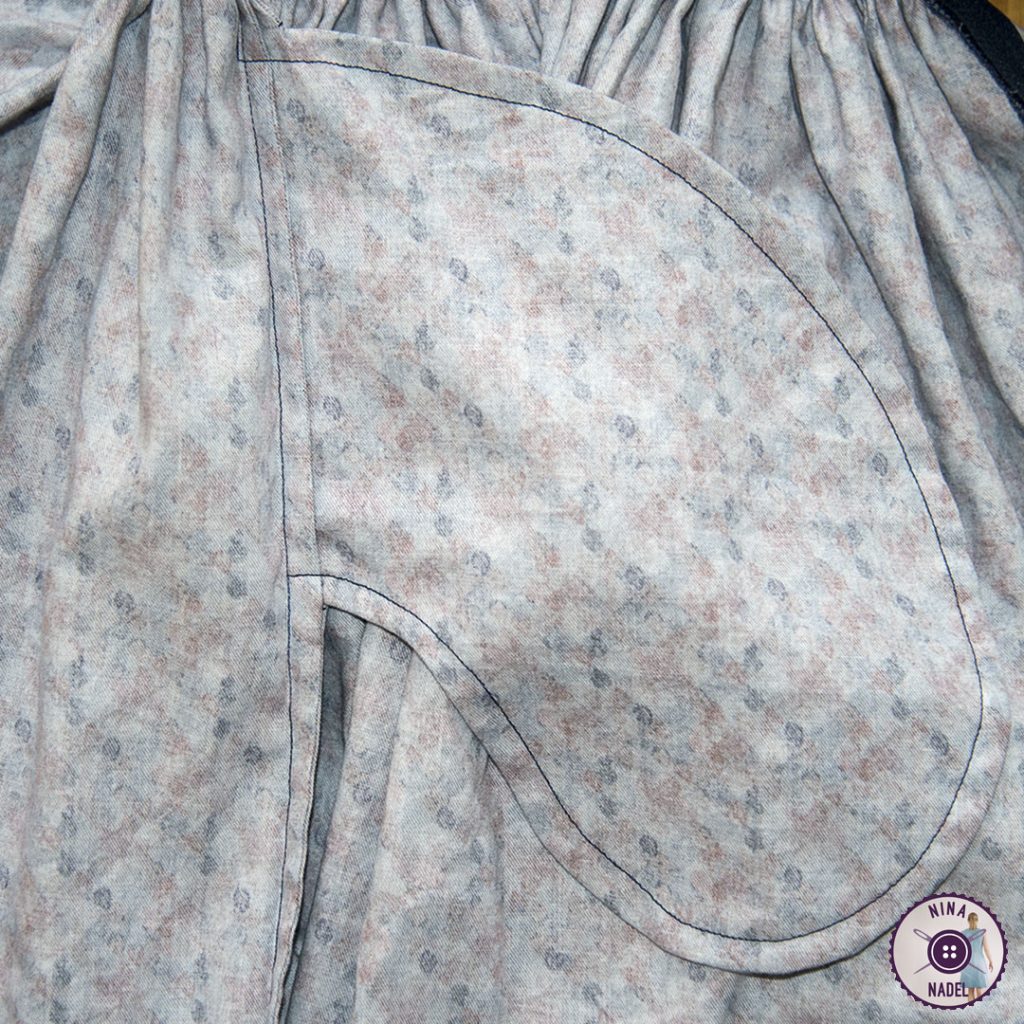
3. Since I generally like the seams on my skirts to be very clean and I don’t want to see any open (or finished) fabric edges, I sewed these + the skirt pockets with French seams. However, this is absolutely not a must, but simply my personal preference.
If you don’t know this sewing technique but would like to learn it, HERE you will find my “instructions for in-seam pockets with French seam“.
My changes of the linning-skirt:
Although I lined the skirt, because I want to be able to wear the dress with tights in winter without the skirt sticking to them, I didn’t want to create even more volume and use the same sewing method as for the “upper skirt”. (After all, this is already the most gathered skirt I have ever sewn for myself 😉 ) So I used only about half as much fabric for the lining skirt (which is still about 2m | 2,2 yards) and sewed it to the yoke in pleats rather than gathered. (extra: I joined both skirts at the yoke line with some invisible stitches so that the weight of the gathered skirt hangs on the main and lining bodice.)
Result
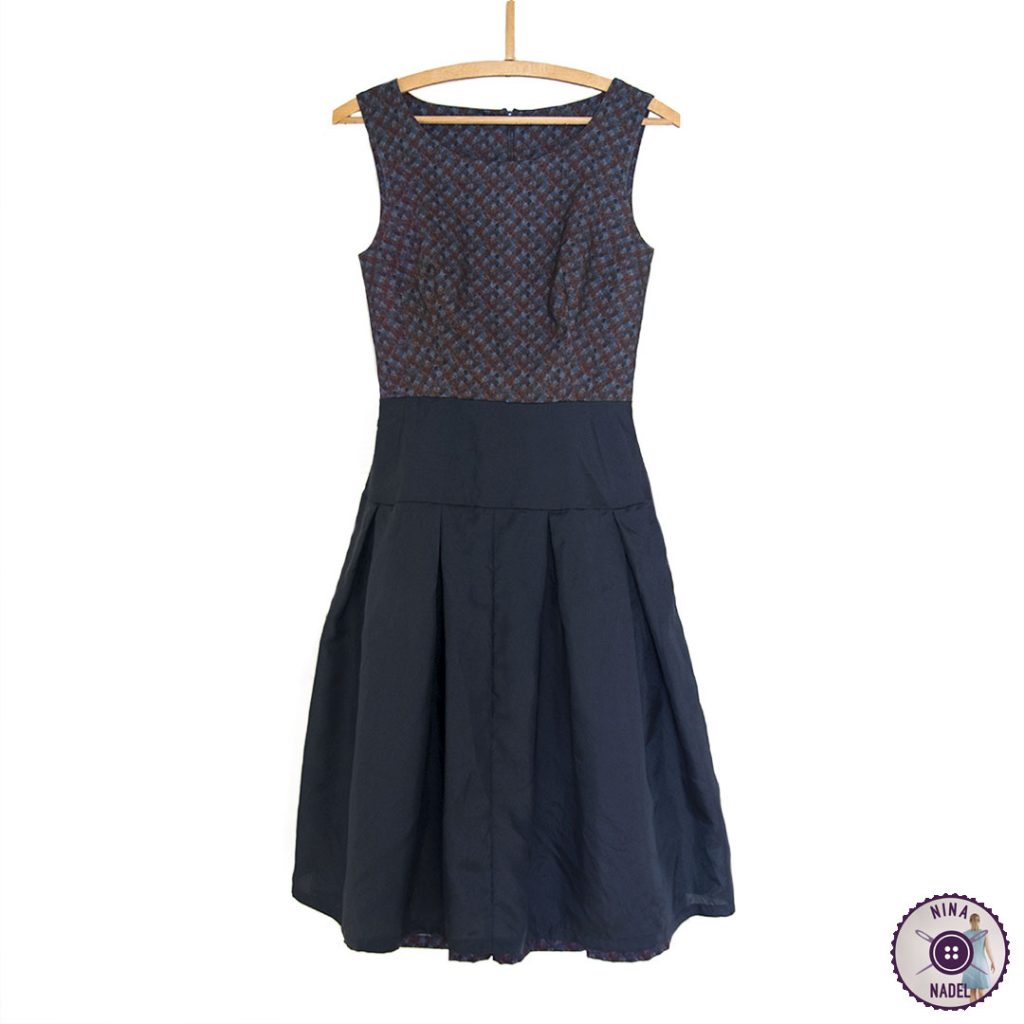
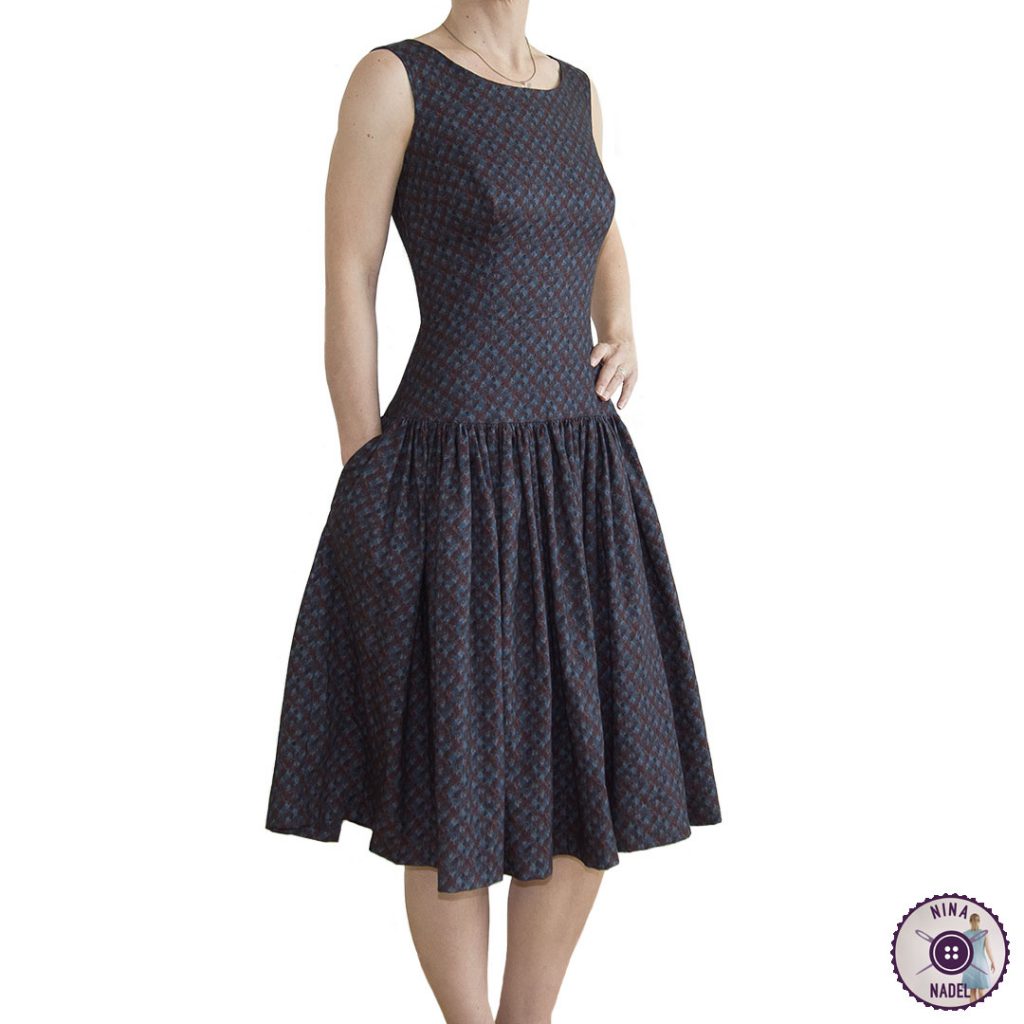
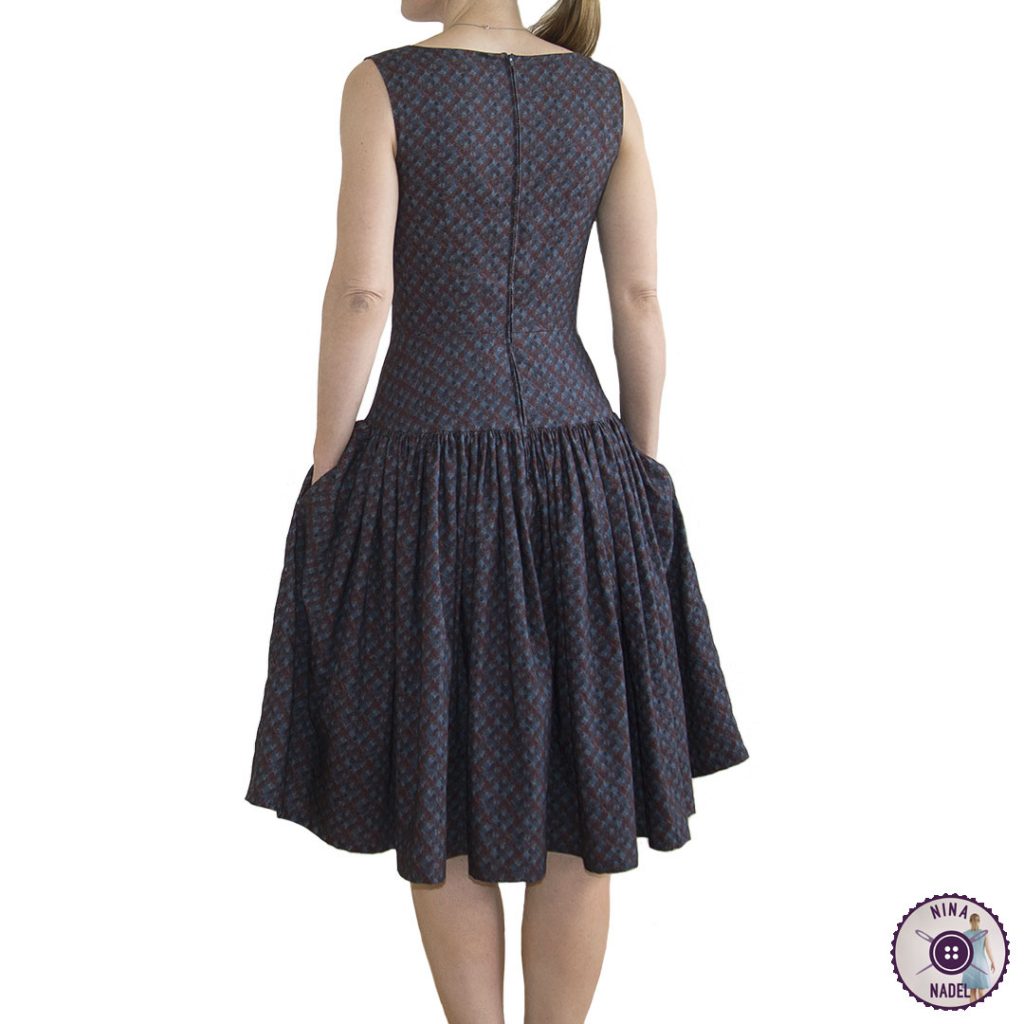
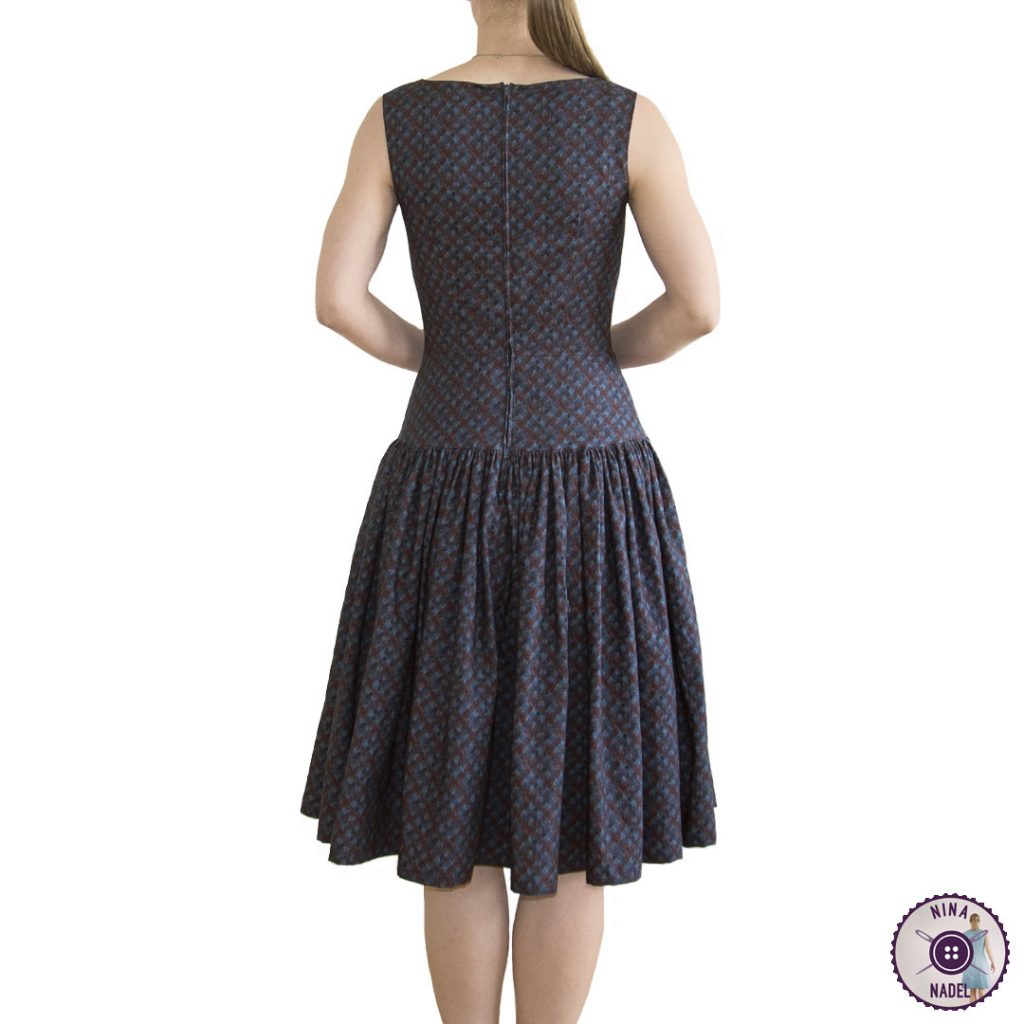
… this is MY Night and Day Dress:
Size 4 (US) | 32 (EU), D/DD Cup, graded at the lower yoke line to size 2 (US) | 30 (EU)
The front:
The back:
Conclusion
The purchase of this pattern was more than worth it, because despite initial doubts (mainly about everyday wearability) I have fallen head over heels in love with the pattern and this dress and I am already planning more. There are sooooo many options! 🙂
Sure, I had to make some adjustments for my body, but anyone who follows this blog or my Instagram knows that I always have to do this, and this time the changes were not even serious and easy to make. In the end it’s a dress sewing pattern that was designed for non-stretch fabrics and these always need some adjustment. After all, we and our bodies are all unique and if the dresses do not adapt to our bodies because of the lack of elasticity of the fabric, then we have to adapt the dresses to our bodies.
My conclusion is unambiguous, if you like the style of the 50s, you will love this pattern and certainly also the others from Charm Patterns, but especially with non-elastic fabrics you should always sew a muslin first (in a fabric similar to the one you want to use later) to avoid unpleasant surprises ;-). Yes, it is extra work and costs time, but it is worth it, I promise!
