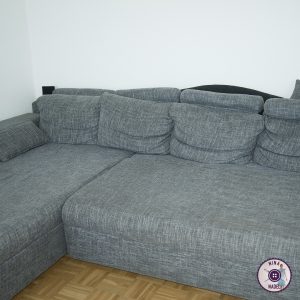
Our sofa is just 4 years old, was not very cheap and began to form a hole in the seat after only 1 1/2 years.
This hole got worse with time and a comfortable sitting became increasingly difficult. So what to do? Buy a new one? Nope! “DIY sofa repair” are the magic words!
After all, the hole is only in one seat (corner sofa), namely the one that is above the bed box, the cover is still great and everything else is still perfectly fine + we like it! 🙂
So we got cold foam in the right size: 144,5cm x 78cm (measured)
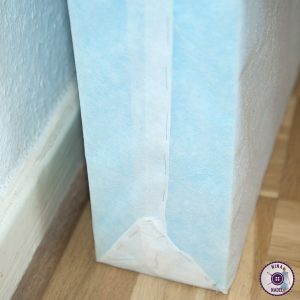
However, since the dealer did not have the right height (14cm), he recommended to take 2 “layers” of cold foam and place them on top of each other. Also increases the strength! (Cost: 90,- € & a cheerful dealer who thought it was great that young people do not always throw away everything)
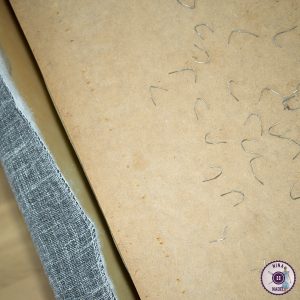
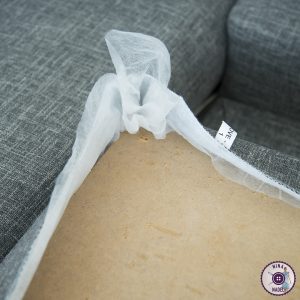
Said and done! Back home, we unscrew everything (sofa frame + supports) and then carefully loosen the cover. This was stapled with lots of staples to a plywood plate (base of the seat). hmpf
Then we sew one “layer” of cold foam into a shell of white pattern fleece, as we feared that the blue could otherwise shine through the (slightly coarse) sofa cover and which we wanted to avoid.
As soon as we had removed the cover and the foam from the base plate of the sofa (to which it was glued) we saw the reason for the hole in the seat.
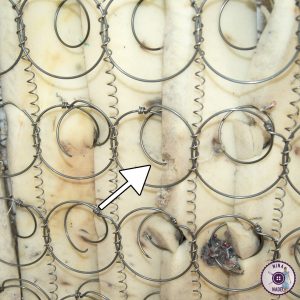
The sofa has a spring core and although none of us had hopped on it, or we hadn’t used it in an unusual way, nor are we particularly heavy, a majority of the springs were broken and started to pierce through the terrifying thin (just 2,5cm) foam cover, which forms the seat over the spring core.
I marked with the arrow only 1 broken spring, but you can easily see others around it.
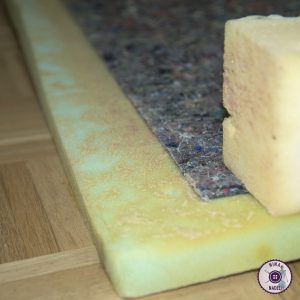
And this is a photo of the “seat” over the spring core. 2-3 of the broken feathers had already pierced halfway (up to 3/4) through this thin layer of foam. If they got through … oh no, I do not even want think about the painful consequences!
But well… after some time, we finally had everything “old” removed and could then put our new seat made of two cold foam “layers” into the cover and fixed everything back to the plywood (which forms the ground) with staples.
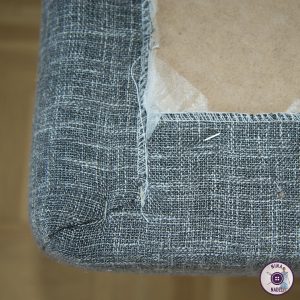
Fortunately we had 4 hands to stretched the fabric of the cover as tight as needed before fixing it with staples. The seams of the cover are now back in place (where they belong) and also no bumps had formed.
In the end everything had worked out perfectly and our sofa is like new, thanks to this “DIY sofa repair”. The seat is even a little firmer than before (because of the cold foam) and really comfortable and from the outside you can seen no difference.
Sometimes you just have to dare to take apart your purchased furniture and repair it yourself! We are definitely happy with our result, had fun at work and think it was 100% worth it! 🙂
My post on Instagram: https://www.instagram.com/p/B155pP8ojMZ/?img_index=1
