Today I want to show you a simple construction method for a stand-up collar, which you can actually use on every dress.
I have used my own basic dress pattern here, but you can use any pattern, only the neckline should be quite high-necked and you shouldn’t have seam allowance on your pattern pieces.
Instructions
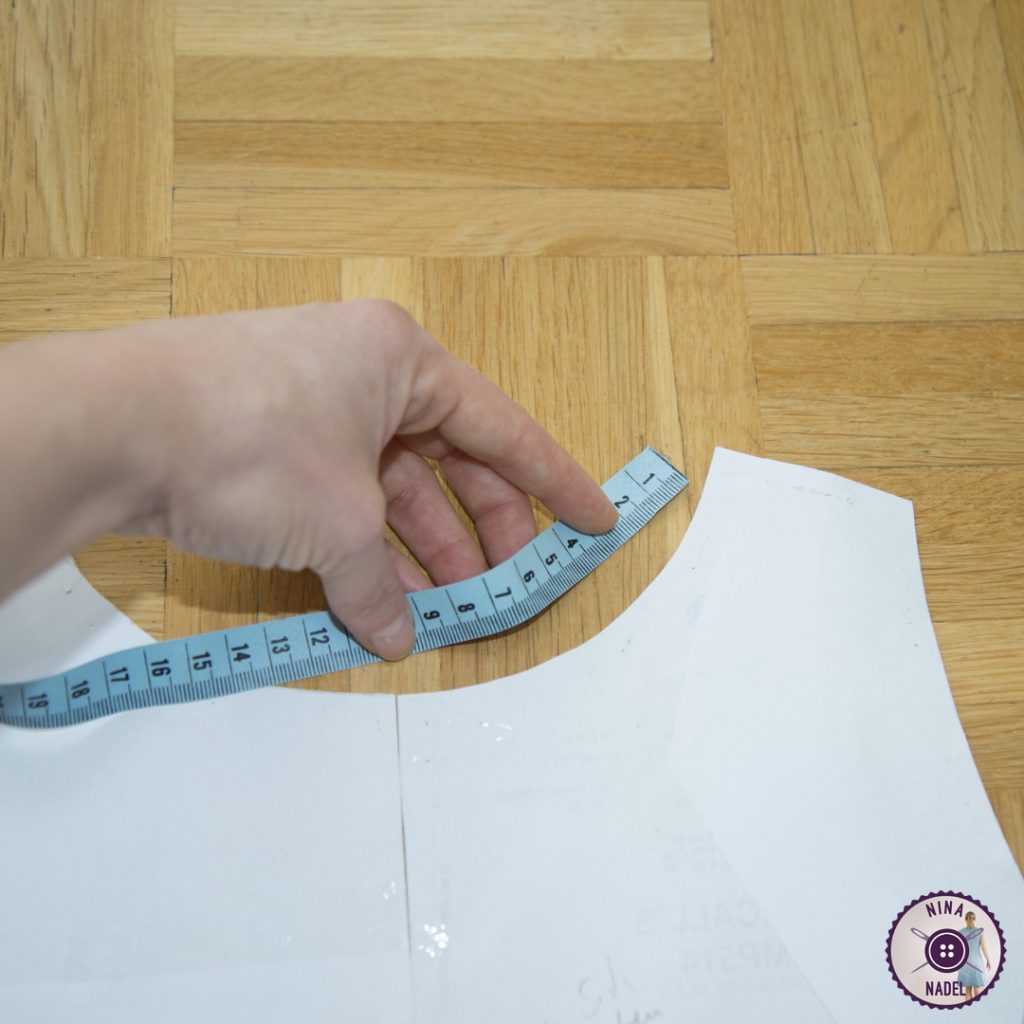
The first thing you have to do is to measure the neckline (front + back):
Measure with the “side” of your measuring tape (see photos), so that I can capture the curves exactly.


As you usually have only one pattern piece for the back, which you cut out twice, you have to take the measured length x2.
Now draw a rectangle with the measured neckline data and your desired collar height (here: 4.5cm).
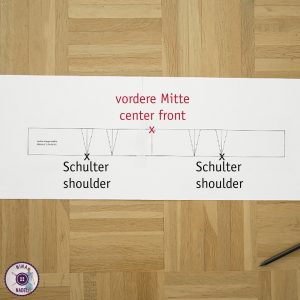
Draw a line with the measured data from the front neckline and add 1/2 of the total back neckline length on each side. And to make your collar lay close on your neck, draw in small wedges, which will later remove width from the upper collar. How close you want to have the collar on your neck, is a matter of taste und you can adjust this over the width of the wedges accordingly. Smaller wedges = collar has more width on top, so it is more straight.
(Note: To avoid fitting problems, please test self constructed pattern pieces before you start to sew your “real” dress)
+ Draw in markers for the center front and your shoulders (resp. shoulder seams) – this makes it easier to sew on the collar. (Info: Since I do need less length on my right shoulder (on the „straps“) than on my left shoulder, my collar is not symmetrical.
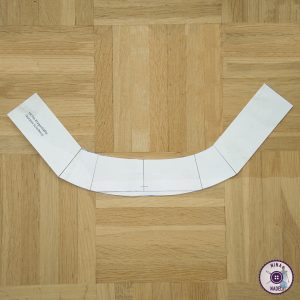
Now remove the wedges from your collar pattern piece. For this, cut one line (from the top) of a wedge almost to the end, then slide it under the collar – until both lines of the wedge lay on top of each other – and stick everything back together.
Repeat this with every wedge, even out the corners (caused by removing the wedges) and your collar pattern piece it finished.
Result
It should look like this now:
Do not forget to add seam allowance on all sides. Also on the top, because collars are sewn double-layered to be more stable, so you need to cut your self-constructed collar pattern piece twice.
As you can see, it is not that difficult to make your own collar for a dress! 🙂
PS: Click HERE to see MY dress with this self-constructed collar. Isn’t it beautiful? <3


