How to make your OWN dress design out of a ready to sew sewing pattern in just a few steps:
Soooo this time I like to show you some simple steps of how to make a dress your own with just some small adjustments to a ready to sew dress sewing pattern.
Sewing pattern
The basic sewing pattern is again one of bootstrapfashion. (No. 43579)
→ Why do I nearly always work with these sewing patterns? One simple reason: By using the pro-fit options they offer I simply don’t have to adjust the bustpoint as well as I don’t have to make a FBA (full bust adjustment). Furthermore there are only really few and very little adjustments left to get me the desired fit.
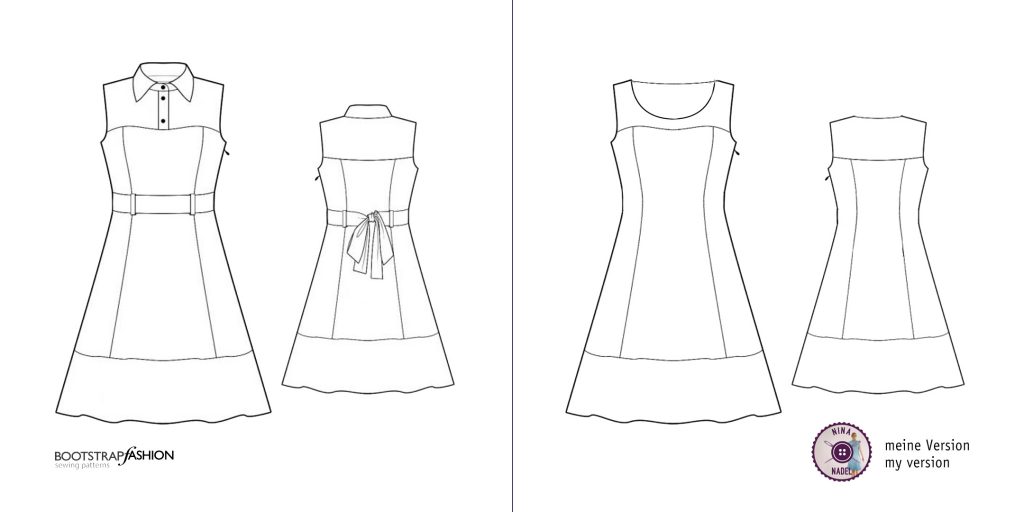
However this is the pattern I like to adjust to my desired look (see diagram). Although I already love the pattern as it is, the high collar feels unfortunately a bit too warm for summer. Besides that, I’m not really the “belt” type of girl with dresses, but you can go with it depending on your taste or you can just drop it like me.. a change of the sewing pattern is not necessary for this.
Before – after
As always I’m started with a test version of the dress. This I always do when I use a pattern for the first time, which is because of how I am built. I am a bit asymmetric and my proportions – because of my narrow lower back, my broad shoulders (or narrow shoulders with large shoulder joints) + my protruding shoulder blades – are somehow different than normal, so that no sewing-pattern-company can consider these irregularities in their ready to sew sewing pattern. Only to give you a vision: When I use other patterns with regular sizes, I have to combine 3-4 sizes, then I have to adjust the bustpoint, as well as I have to make a FBA to fit my proportions. 😉
Test-version
On this I already noticed that on the back of the dress once again the fabric crinkles, which I don’t like. But I will also show you how to adjust the fit a little later in this blog post.
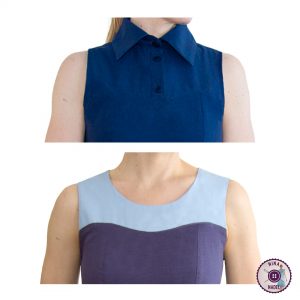
change of the look of the top of this dress
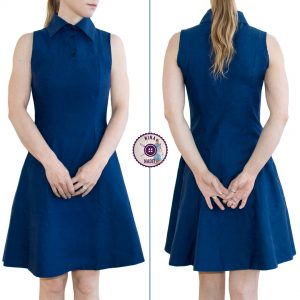
Here is a photo of the original version and one of the changed and fitted dress and yeeeeesssss between sewing these two dress I really got some suntan. *happy*
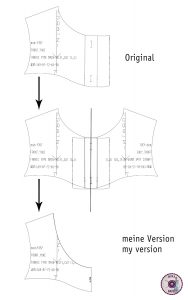
And since I myself understand these things better with the help of pictures too, here is a little illustration of how I changed the upper part of the dress.
Simply take the original sewing pattern piece for the upper part of the front dress (I have mirrored it here for the image in the middle and pushed one over the other, so you can see it a little better) and cut it along the buttonholes, because these are exact in the center of the original version. And to make you not forget, write on your new pattern piece that this line is to place on fold while cutting, because you don’t want to have a seam there later. Now the only thing that is left to do is to optimize the neckline, since the original one was designed for the collar and therefore is very tight. This can be done according to your taste. If you are unsure about how to do this, take the neckline of a dress sewing pattern you like and try to fit it into this pattern.
That wasn’t difficult, was it? Because at this point the look-adjustment has already been completed!
The fitting
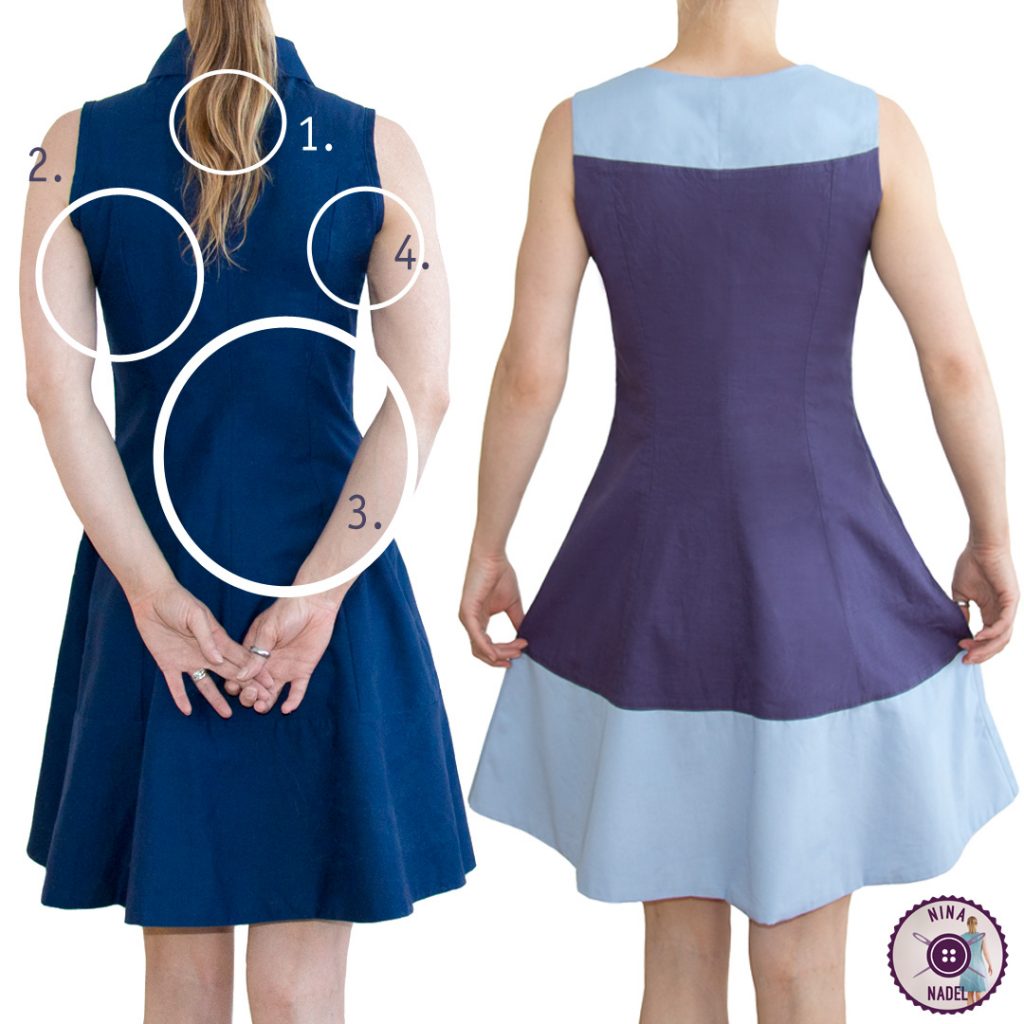
Now I show you how to optimize the fit. And to show you the things I’m still “complaining” about, here is another photo to compare the original version with my adjusted version.
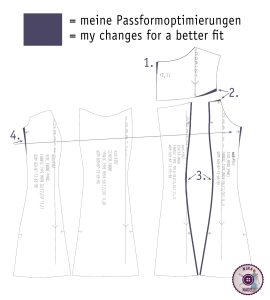
And here is an illustration with the pattern pieces I’ve changed. The purple (dark) areas I have cut off, since the test dress was too wide at the backside and one part was too long. But how do you know how much you have to cut away? That’s quite simple: I put on the dress, grab the fabric which is too much, try to remember how much this roughly is, then I take the dress off again and pin the not needed fabric away. This I repeat until I liked the fit and all that is left to do, is to transfer these changes to your pattern. Done! (If you have a suitable dressform use it instead of your own body for this fitting adjustments, it is way easier!)
Which pattern pieces are in my illustration (left to right):
side front (which you need 2 times), center front (which you need 1 time), center back (which you need 2 times), side back (which you need 2 times) + upper back (which you need 2 times)
The fitting – step by step:
1. The neckline of the center back was sticking out a little (I’m so sorry, but because of my hair you can’t see it), so I tapered the vertical center line at the top and worked with two upper back pieces (resulting in a center seam) instead of one (cut on fold), as in the original pattern.
2. The back armholes were too wide so others could peep into the dress. Pretty uncool, right? Additionally I had weird crinkles under the armholes, which indicates that there is too much length in the side back piece. So I took away some length – as indicated in the illustration – to solve this problem.
3. The backside in total was too wide, so I took away some width here too. But at this point you have to be a bit careful. The back of the dress is made of 4 pieces, so you have to remove 1/4 of the total width you want to remove from each of this 4 pattern pieces. This way the proportions are preserved and – at least that’s my experience – the result is the best possible.
4. This is an error I assume everybody knows… under the armpits the dress was too wide and sticked out, so I removed some width here too to make the dress fit closely to the body.
DONE!
Result
I hope I was able to release some fear of fitting- and look changes with this tutorial, because as you can see it is not really that difficult and first of all no magic at all. But if there is something still troubling you, or you have questions about how I have sewn the dress, feel invited to write me an email and I’ll try to help the best I can.
Find my contact form HERE.
And this is MY finished summerdress and …. what can I say: I love it! <3
